By FE-Motorsport | Kids’ Powersports | Parent Guides
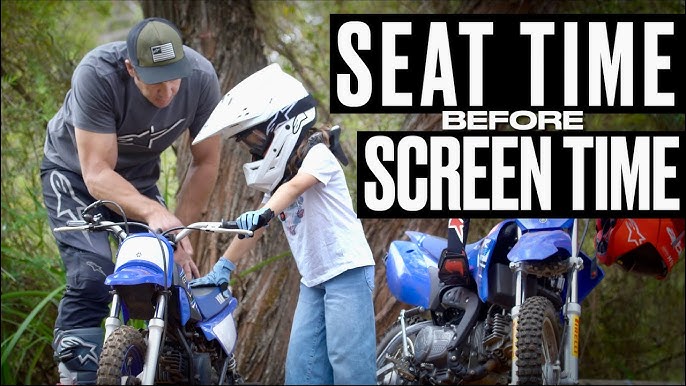
Teaching your child to ride their first gas-powered mini bike is one of those parenting moments you’ll both remember for a long time. The look on their face when the engine fires up for the first time. The cautious first roll. And then almost always sooner than you expect the grin that means they’ve got it.
But getting there smoothly takes more than handing them the bike and saying “go.” The difference between a confident young rider and a frustrated one often comes down to how those first few sessions are structured. This guide gives you a clear, step-by-step framework to make your child’s first riding experience safe, successful, and genuinely fun.
Before the First Ride: Setting the Stage
Gear Up Every Single Time
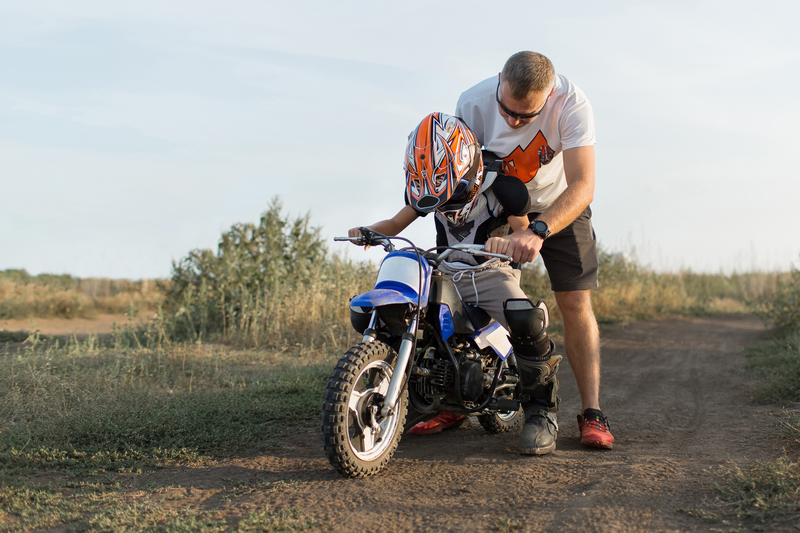
Before anything else happens, your child needs to be fully geared up. No exceptions, no shortcuts. Helmet (DOT-approved, full-face), gloves, knee/shin guards, elbow pads, and boots. If the gear isn’t on, the session doesn’t start.
Establishing this rule from day one builds a habit that will protect your child for life in the sport. Make it a positive ritual putting gear on means riding is about to happen, which is exciting.
Choose the Right Environment
Your choice of riding environment matters enormously for a beginner. For the first several sessions, you want:
- Flat, open ground a lawn, a grassy field, or a quiet empty parking lot
- No obstacles, slopes, or hazards within the riding area
- Enough space to ride in a straight line for at least 20–30 feet
- A soft surface if possible grass is more forgiving for early tip-overs than concrete
Avoid tight spaces, hills, gravel, or anywhere with vehicle traffic. As skills develop, you can gradually introduce more challenging terrain.
Pre-Ride Bike Check
Walk your child through a quick pre-ride check before every session it takes two minutes and builds great habits:
- Fuel level is there enough premix in the tank?
- Chain tension a quick visual check for obvious looseness
- Tire condition no obvious flats or damage
- Kill switch test that it works before riding begins
Phase 1: Getting Comfortable (No Engine)
Step 1 Introduce the Bike at a Standstill
Before the engine ever starts, let your child spend time simply sitting on the bike. Let them:
- Get comfortable with the seat height and reach to the handlebars
- Practice placing both feet on the ground and then back on the footpegs
- Find the throttle, brakes, and kill switch with their eyes closed
- Practice squeezing the brake (if applicable) firmly
The goal here is familiarity. A child who knows where everything is before the engine starts is far more relaxed when it fires up.
Step 2 Walk the Bike
Have your child walk alongside the bike, guiding it with both hands on the handlebars. This teaches steering input how the bars feel when turning left and right without any speed or power involved.
Then have them sit on the bike and scoot it along with their feet like a balance bike. This builds the feel of the machine’s weight and balance point at zero speed.
Phase 2: Engine On First Power
Step 3 Start the Engine Together
The first engine start is a big moment. Do it together. Show your child:
- How to set the choke for a cold start
- The pull-start motion firm and smooth, not a sharp yank
- What the engine sounds like at idle normalize the sound before riding
Let the engine idle for a minute before any riding. Let your child sit on the bike with the engine running, getting used to the vibration and sound at standstill.
Step 4 First Throttle Inputs Stationary
With the bike stationary and you holding the rear, have your child practice gentle throttle inputs. The goal is to feel how the engine responds without the bike moving. Show them:
- Tiny throttle = engine revs slightly
- Release throttle = engine returns to idle
- This is the control they’ll use to move
Step 5 First Movement: Straight Lines Only
Now it’s time to move. Have your child:
- Sit properly feet on footpegs, back straight, eyes forward (not looking at the ground)
- Apply a gentle, smooth throttle input
- Ride in a straight line for 10–15 feet
- Release the throttle and come to a natural stop
Do not introduce turning yet. Straight lines only for the entire first session. The goal is throttle control and balance in a straight line nothing more.
Walk or jog alongside for the first few passes so your child feels supported. As confidence builds, give more distance.
Phase 3: Building Skills Session by Session
Step 6 Introduce Braking
Once your child is comfortable with straight-line riding and smooth throttle inputs, introduce braking:
- Throttle off first, then apply brake smoothly
- Avoid grabbing the brake suddenly this can cause a front-end dive or rear wheel lock
- Practice controlled stops from slow speed repeatedly before increasing speed
Step 7 Introduce Wide Turns
Once braking is solid, introduce turning starting with wide, sweeping turns in one direction at a time:
- Look where you want to go eyes lead the turn
- Weight shifts slightly to the inside
- Smooth, consistent throttle through the turn
Practice the same turn repeatedly before switching directions. Figure-eight patterns at slow speed are one of the best drills for developing balanced turning skills.
Step 8 Introduce the Kill Switch as a Habit
At some point in every session, practice using the kill switch. Call out “kill switch!” and have your child hit it immediately. This drill makes engine shutdown an instinct rather than a panicked search critical for real-world safety.
Common Mistakes Parents Make When Teaching
Going too fast too soon. Speed is exciting, but it’s the enemy of skill development. Keep speeds low until each fundamental is solid.
Sessions that are too long. Fatigue is when mistakes happen. 20–30 minutes is plenty for early sessions. End while your child is still having fun and wants more.
Skipping the no-engine phase. Getting comfortable with the bike’s weight, reach, and controls before the engine starts dramatically speeds up learning. Don’t rush past it.
Reacting with panic to falls. Falls will happen they’re part of learning. How you react matters enormously. Stay calm, check they’re okay, encourage them to get back on. Overreacting to minor tumbles instils fear.
Letting a child ride unsupervised too soon. Even after they look confident, young riders need adult supervision. Skill development is non-linear a good day can be followed by an unfocused day.
Session Progression Guide
| Session | Focus | Duration |
|---|---|---|
| 1 | Stationary familiarization + first straight lines | 15–20 min |
| 2 | Straight lines, throttle control, first stops | 20–25 min |
| 3 | Controlled braking, longer straights | 25–30 min |
| 4 | Wide turns in one direction | 25–30 min |
| 5 | Turns both directions, figure eights | 30 min |
| 6+ | Combining skills, gentle terrain variation | 30–45 min |
Most children complete sessions 1–5 within 2–4 weeks of starting, though every child’s pace is different.
Frequently Asked Questions
Q: How long will it take my child to learn to ride? Most kids are riding confidently in a straight line within their first 1–2 sessions and managing turns within 3–5 sessions. Comfort and confidence vary some kids take 2 weeks, others take 6. Patience and positive reinforcement are key.
Q: Should I hold the bike during the first session? Yes, for the first few passes. Walking or jogging alongside while your child rides gives them a safety net that allows them to focus on throttle feel without worrying about falling.
Q: My child keeps looking at the ground how do I fix it? Looking at the ground is one of the most common beginner habits. Tell them to “look where you want to go” and pick a visual target at the end of the riding area to focus on. Eyes up = better balance and steering naturally follows.
Q: What if my child falls and gets scared? Stay calm. Check they’re physically okay first. If they’re not hurt, encourage them gently to get back on falling is part of learning, and the sooner they get back on, the less the fear builds. Never force it if they’re genuinely shaken, but a short break and a calm “you’ve got this” often works wonders.
Ready for Their First Ride?
The 49cc Gas Powered Mini Banshee is the perfect machine for putting this guide into action beginner-friendly controls, manageable power, and a price point that makes it the best value first bike on the market.
👉 Shop the 49cc Mini Banshee at FE-Motorsport — $500, In Stock
📞 (909)-342-5382 | 📧 support@femotorsport.com